My Mac Pro is an early 2008. Over the last few years, it’s been losing function by parts. It’s like chip rot. First the firewire didn’t work right, lots of transfer errors. It may even have been that way from the start, but I always thought it was the LaCie drives or firewire hubs that screwed things up. So I stopped using firewire entirely.
Then the RAID gave me trouble, which turned out to be disk bay 1 being flaky. With or without the RAID card, bay 1 would give me disk errors even after replacing the disk. The bad disks worked fine in other bays, though.
The last couple of months, the machine started beach balling a lot, getting so slow I would almost scream. Dragging selections in Muse could take ten or twenty seconds to do, while they were instantaneous on my Macbook Pro. USB started to be flaky about a year back, with bad sound quality and dropouts using a USB headset. A few years back the upper DVD reader stopped working, too.
After a couple of months, I reinstalled OS X to no effect. Running TechTool Pro and Diskwarrior on the disk had shown no significant errors, but it took forever. Very slow disk reading. I then moved my system disk from bay 4 to bay 3, and the beach balling went away immediately. So now I was down to two functioning disk bays.
I’ve been eyeing the new Mac Pro, but the lack of serious disk space keeps me from going for it. And the price, of course. Decent alternatives would be a second hand 2010 or 2012 model. Or, I figured, trying to fix my 2008. The only thing I could think of as being the cause would be the disk cable harness (unlikely), the motherboard, or the power supply. You have to start somewhere, so I figured a new motherboard would be a good thing to do. Turns out you can get them for a decent price nowadays. I found a vendor on eBay that has a stack of them for $165, and they claim they’ve been tested before shipping. So I bought one, and got it less than a week later.
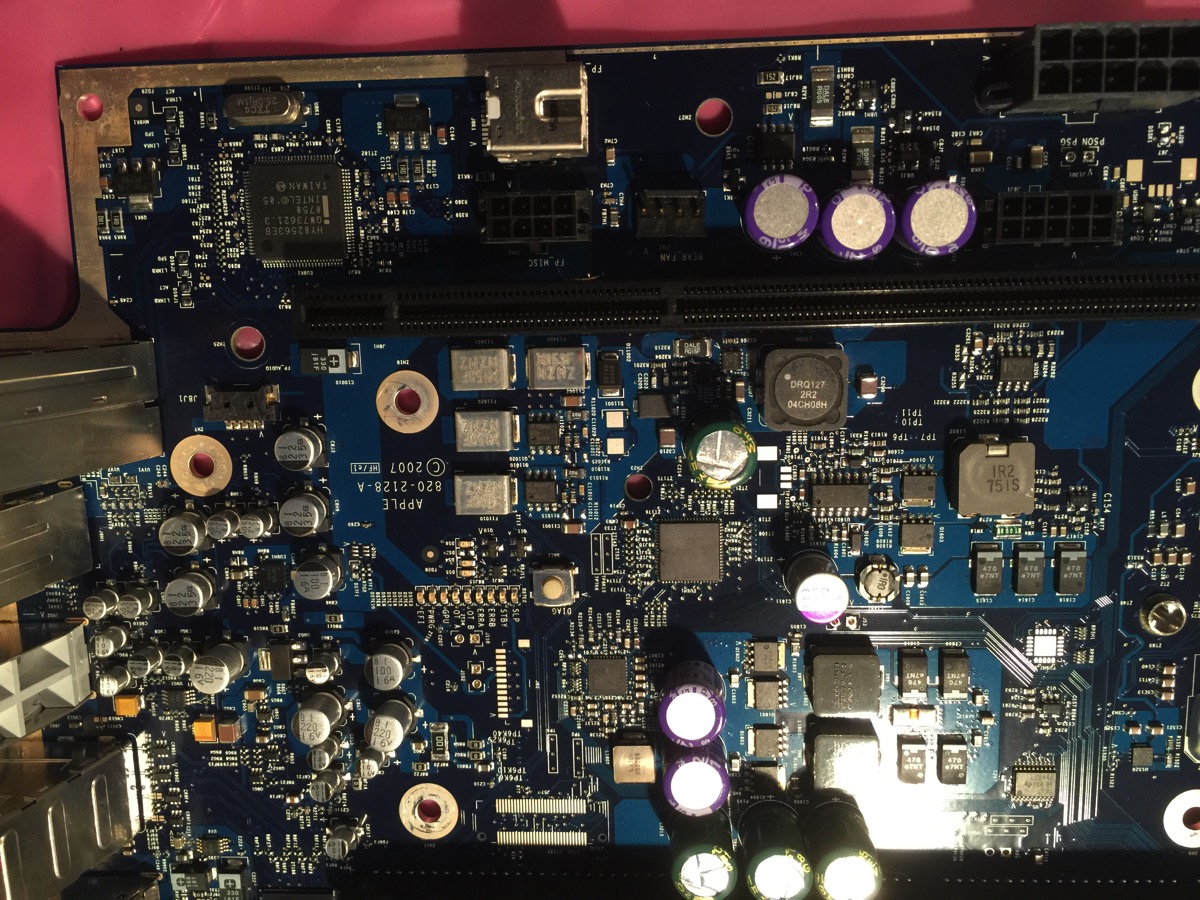
Today, I switched motherboards. It’s a pretty invasive thing to do to your Mac Pro, but you can do it in two or three hours without rushing it. Nothing broke, and I’m writing this post on that machine a few hours later and everything seems to work. I’ve moved the system drive to bay 4 and the machine remains snappy. No beach balling. I’ve installed a 4 TB in the previously really bad bay 1, and it seems to work normally. I’m having a glimmer of a hope this machine will work fine for another year or two, or maybe more. At least until Apple releases a decent modern replacement (if ever…). Below you’ll find a few pics of the process.
The new board arrived completely intact and well packaged in a sealed antistatic bag.

Looks clean.
The machine before the slaughter. Note the unused (and unusable) bay 1. Bay 4 only serves for a slow drive with some old info. That slot is pretty slow in itself, hasn’t given any errors, but lots of huge delays (beach balling).

After removing the memory risers and the cards:

Out goes the front fan:
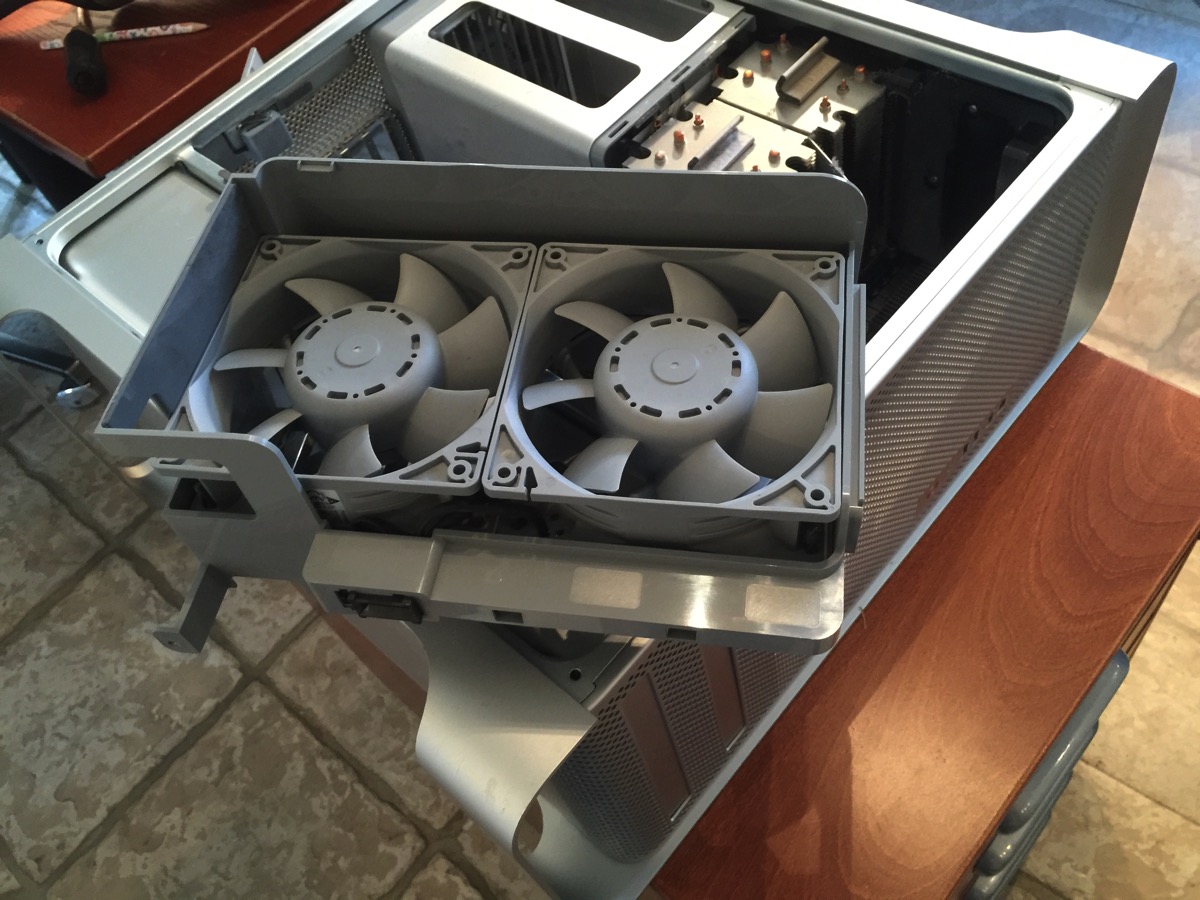
Then the turn comes to the memory cage. There’s a trick to this involving sliding the fan into the cage after releasing a few tabs. Read up on it carefully before attempting. iFixit has a good description.

Now it’s time to remove the three heat sinks. The two CPU sinks must be removed to get the main board out of the case, so you can just as well take the third sink (north bridge) as well.

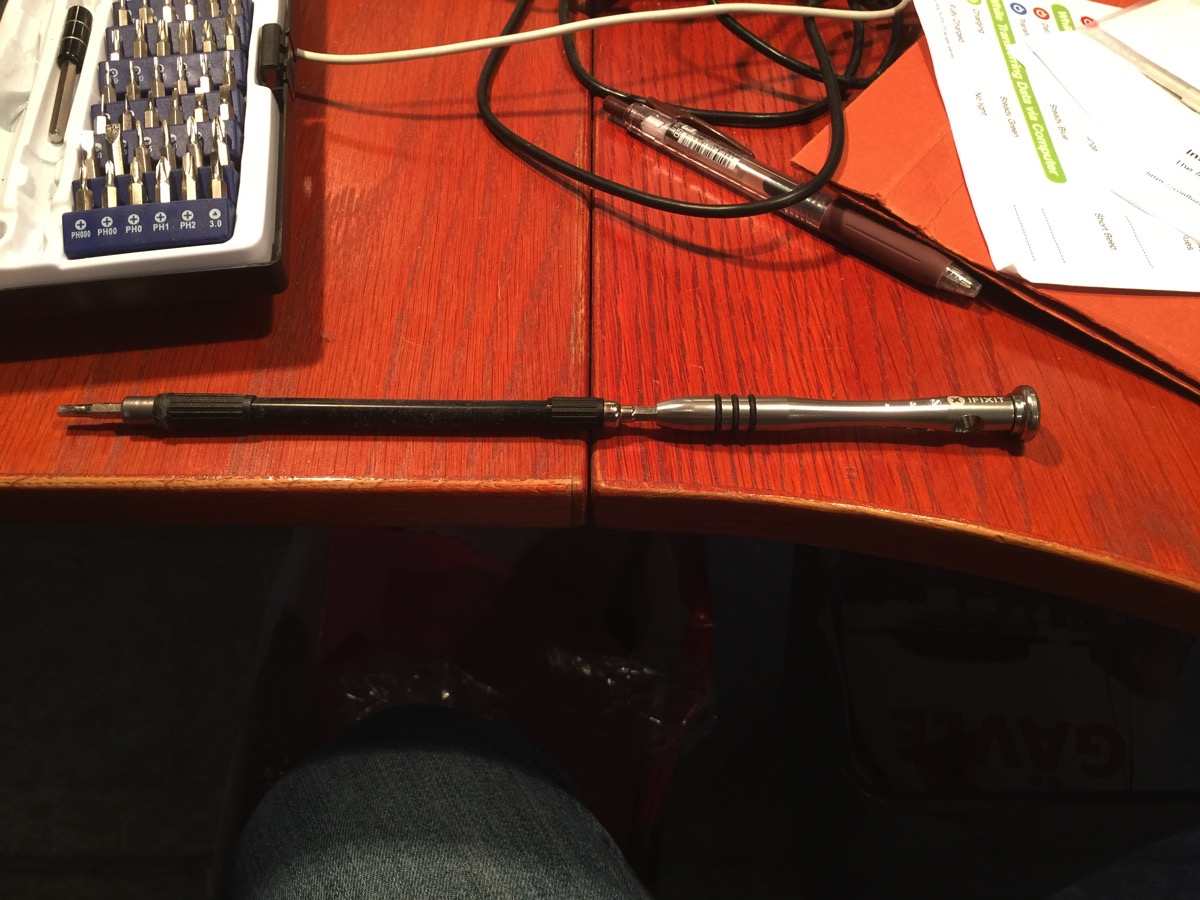
“Interestingly”, all the sinks are held in place by 3 mm in-hex screws. Three of these screws are right in between the three sinks so you need quite a long hexagonal screw driver to get them out. Luckily, the iFixit kit has both the right bit and an extender that was just long enough and narrow enough to get the job done. Most online sources say “flat screw driver”. Don’t believe them. It’s a hex you need.
The north bridge sink:

One of the CPU sinks:

Time to disconnect the antennas. Do snap a pic first so you can look up which cable went exactly where. They’re nicely labeled, but there are no markings on the boards to correspond with the cable labels. Also, the antenna cable labeled “2” is over to the side somewhere and is not connected to anything.

Now you have to take out the speaker assembly in the lower front of the case. There’s a screw holding the motherboard in place that you can’t get at otherwise.

After disconnecting a truckload of connectors and carefully wiggling for a bit, out comes the old motherboard.

A good use for old iTunes cards: scraping thermal paste from the CPUs and the Northbridge. (The north bridge isn’t necessary, since this one is on its way out, but its a good trial run for the processors.)
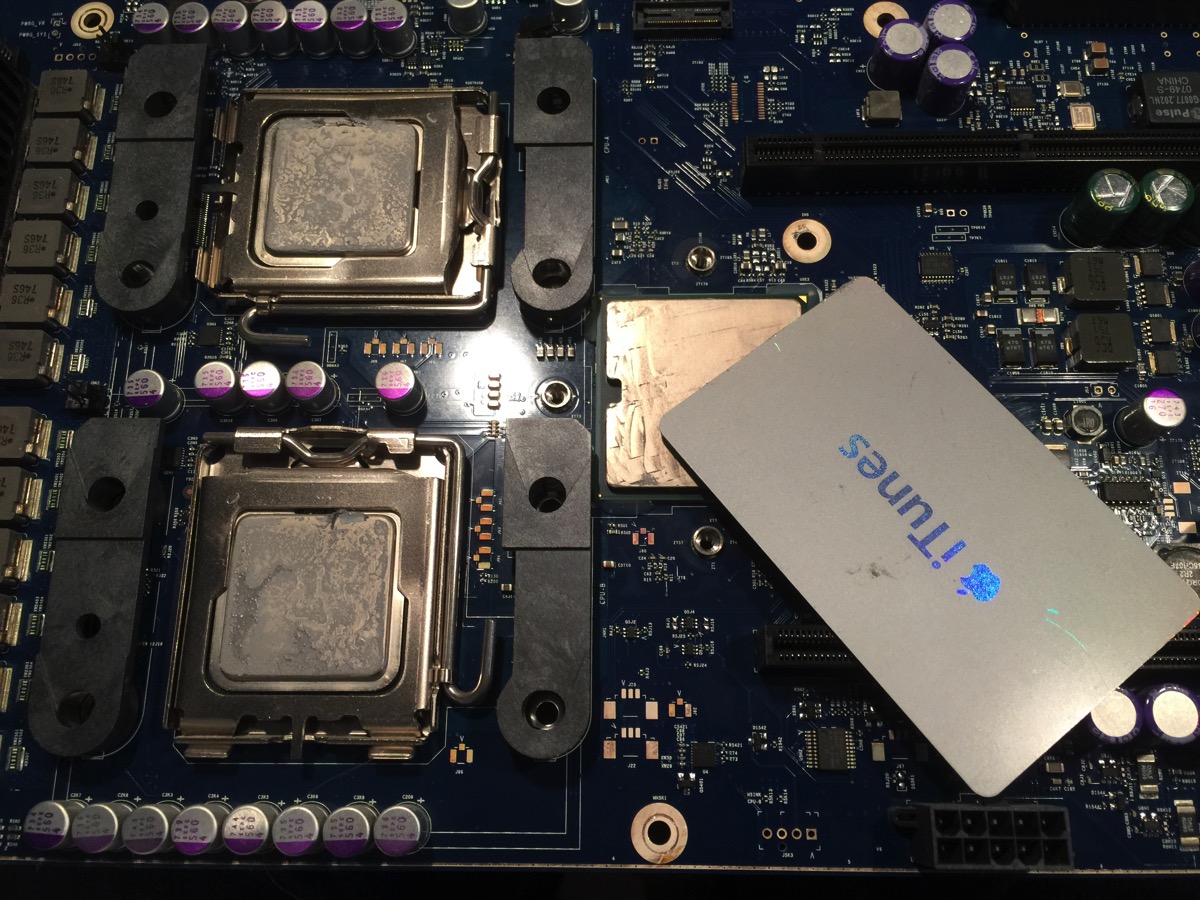
Use a decent cleaner and lint-free cloth to remove the rest of the old thermal paste after scraping it off with the plastic card.
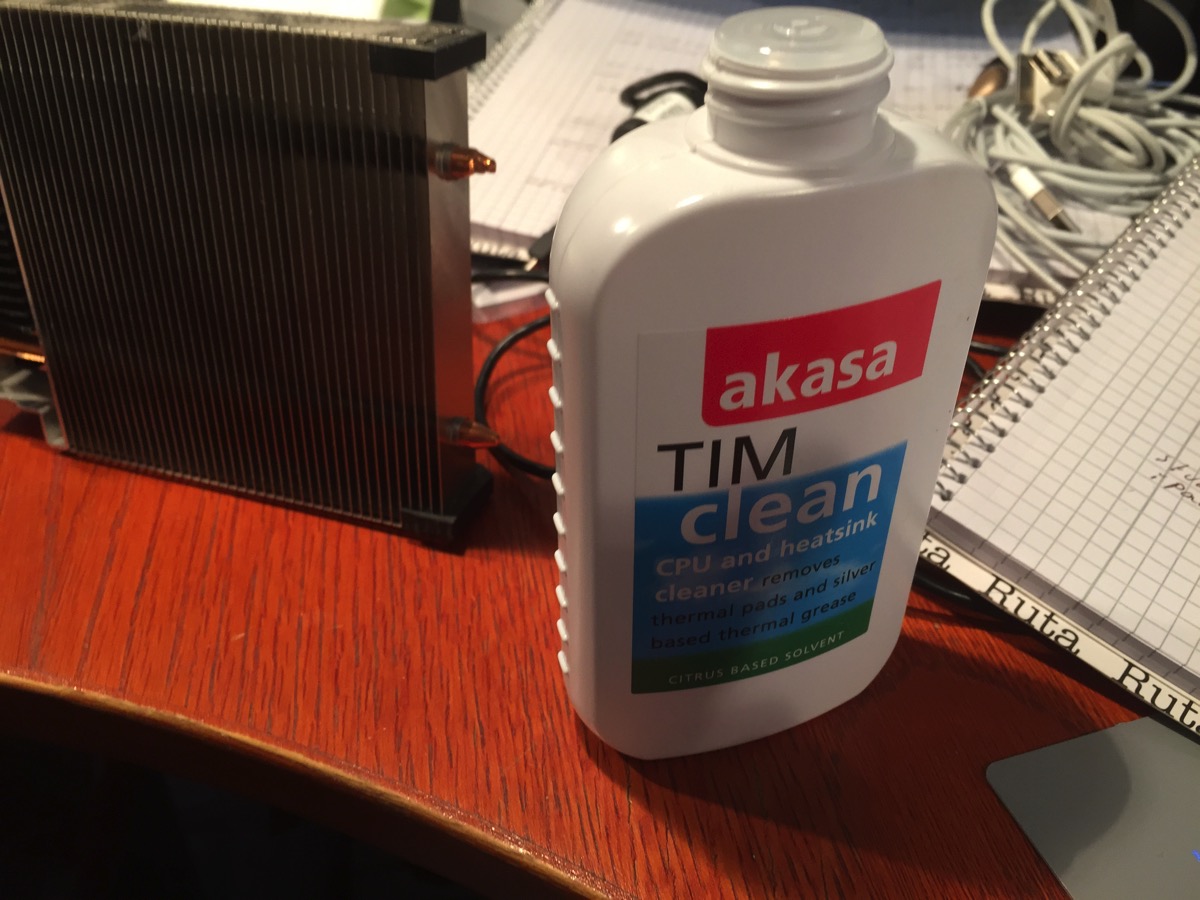
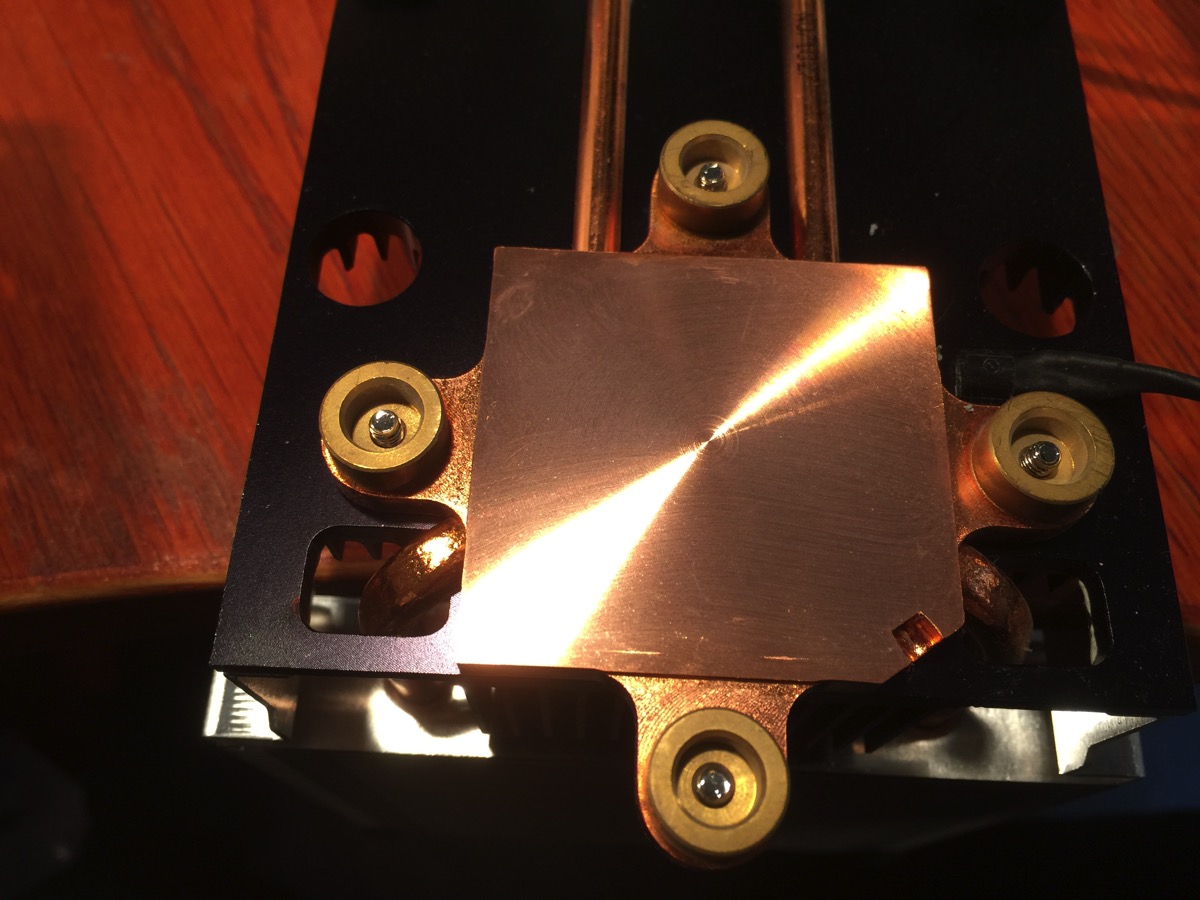
One of the sinks after cleaning. Looks great!
The processors look fine, too, after cleaning:

Time to strap up before removing the processors:

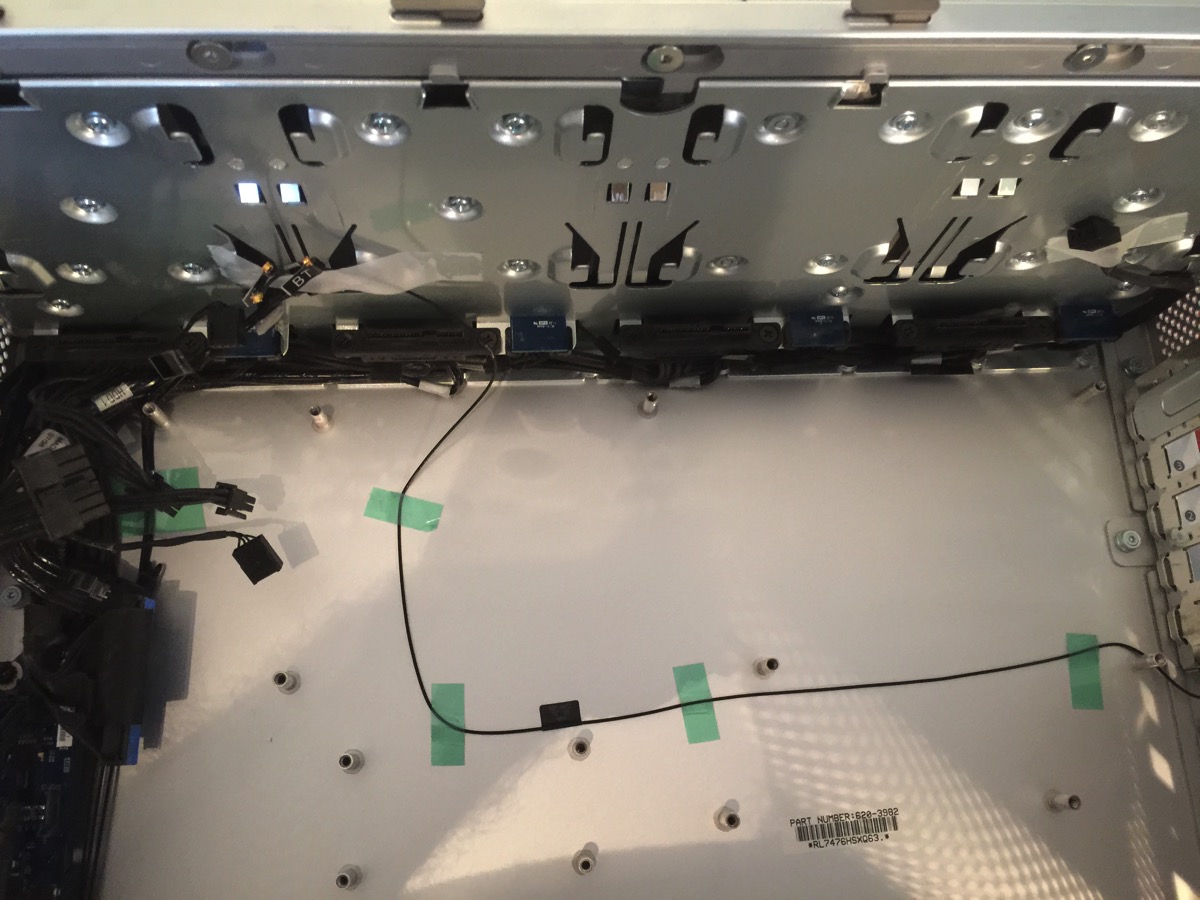
An empty case with a lot of loose cables:
Putting thermal paste on the north bridge and the CPUs. I’m using the procedure recommended on the Arctic Silver site. Except I unintentionally modified it to be messier. With this procedure, very little paste goes on the sinks.

And then you put back the motherboard, the sinks and all the rest. And cross your fingers and boot. Oh, your machine now has a new serial number, but really, who cares?
I used the opportunity to blow away all the dust from all the parts using compressed and dried air. This machine has never been this clean before.
