Another couple of years?

My Mac Pro is an early 2008. Over the last few years, it’s been losing function by parts. It’s like chip rot. First the firewire didn’t work right, lots of transfer errors. It may even have been that way from the start, but I always thought it was the LaCie drives or firewire hubs that screwed things up. So I stopped using firewire entirely.

Then the RAID gave me trouble, which turned out to be disk bay 1 being flaky. With or without the RAID card, bay 1 would give me disk errors even after replacing the disk. The bad disks worked fine in other bays, though.

The last couple of months, the machine started beach balling a lot, getting so slow I would almost scream. Dragging selections in Muse could take ten or twenty seconds to do, while they were instantaneous on my Macbook Pro. USB started to be flaky about a year back, with bad sound quality and dropouts using a USB headset. A few years back the upper DVD reader stopped working, too.

After a couple of months, I reinstalled OS X to no effect. Running TechTool Pro and Diskwarrior on the disk had shown no significant errors, but it took forever. Very slow disk reading. I then moved my system disk from bay 4 to bay 3, and the beach balling went away immediately. So now I was down to two functioning disk bays.

I’ve been eyeing the new Mac Pro, but the lack of serious disk space keeps me from going for it. And the price, of course. Decent alternatives would be a second hand 2010 or 2012 model. Or, I figured, trying to fix my 2008. The only thing I could think of as being the cause would be the disk cable harness (unlikely), the motherboard, or the power supply. You have to start somewhere, so I figured a new motherboard would be a good thing to do. Turns out you can get them for a decent price nowadays. I found a vendor on eBay that has a stack of them for $165, and they claim they’ve been tested before shipping. So I bought one, and got it less than a week later.

Today, I switched motherboards. It’s a pretty invasive thing to do to your Mac Pro, but you can do it in two or three hours without rushing it. Nothing broke, and I’m writing this post on that machine a few hours later and everything seems to work. I’ve moved the system drive to bay 4 and the machine remains snappy. No beach balling. I’ve installed a 4 TB in the previously really bad bay 1, and it seems to work normally. I’m having a glimmer of a hope this machine will work fine for another year or two, or maybe more. At least until Apple releases a decent modern replacement (if ever…). Below you’ll find a few pics of the process.

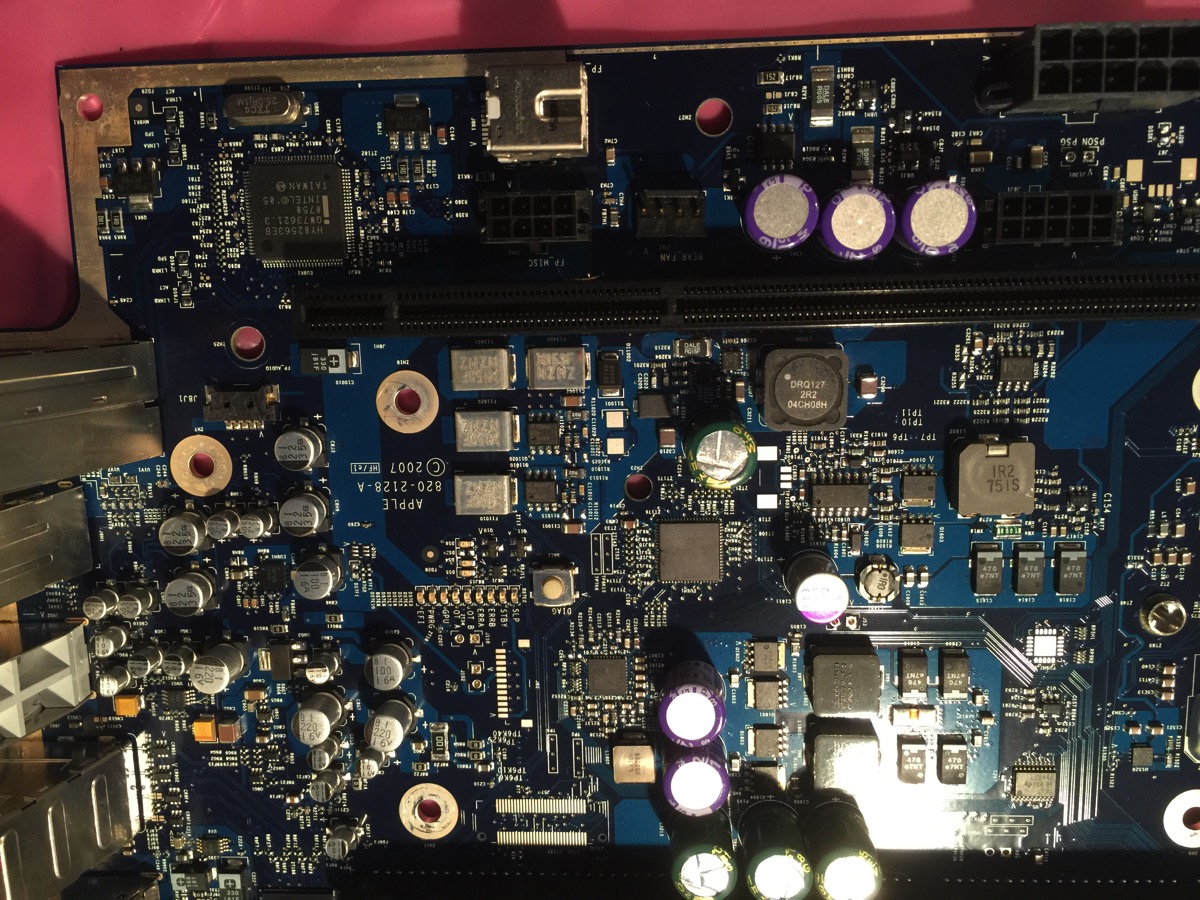
The new board arrived completely intact and well packaged in a sealed antistatic bag.

New motherboard in sealed wrap

Looks clean.

New board unwrapped

The machine before the slaughter. Note the unused (and unusable) bay 1. Bay 4 only serves for a slow drive with some old info. That slot is pretty slow in itself, hasn’t given any errors, but lots of huge delays (beach balling).

The machine before the slaughter

After removing the memory risers and the cards:

After removing memory and cards

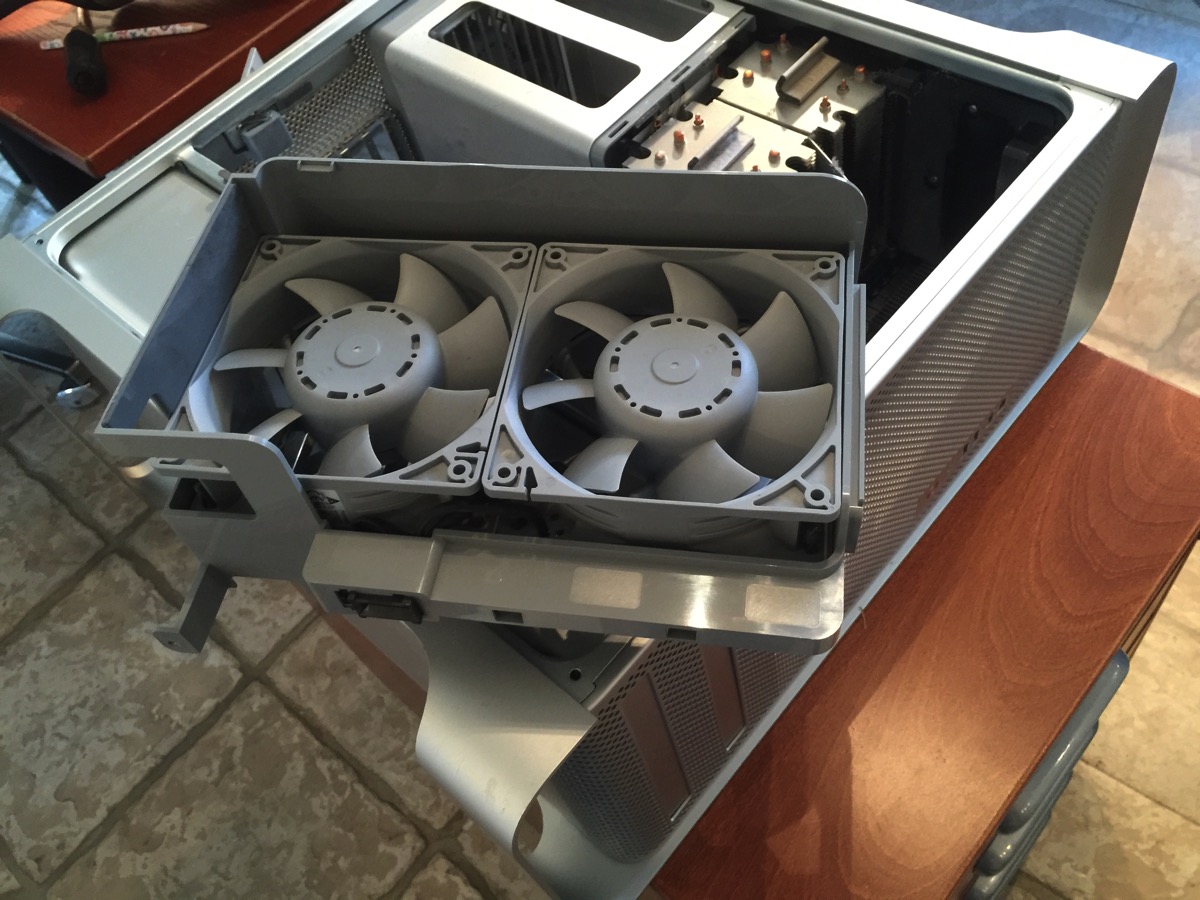
Out goes the front fan:

Front fan cage removed

Then the turn comes to the memory cage. There’s a trick to this involving sliding the fan into the cage after releasing a few tabs. Read up on it carefully before attempting. iFixit has a good description.

Memory cage

Now it’s time to remove the three heat sinks. The two CPU sinks must be removed to get the main board out of the case, so you can just as well take the third sink (north bridge) as well.

Heat sinks

“Interestingly”, all the sinks are held in place by 3 mm in-hex screws. Three of these screws are right in between the three sinks so you need quite a long hexagonal screw driver to get them out. Luckily, the iFixit kit has both the right bit and an extender that was just long enough and narrow enough to get the job done. Most online sources say “flat screw driver”. Don’t believe them. It’s a hex you need.
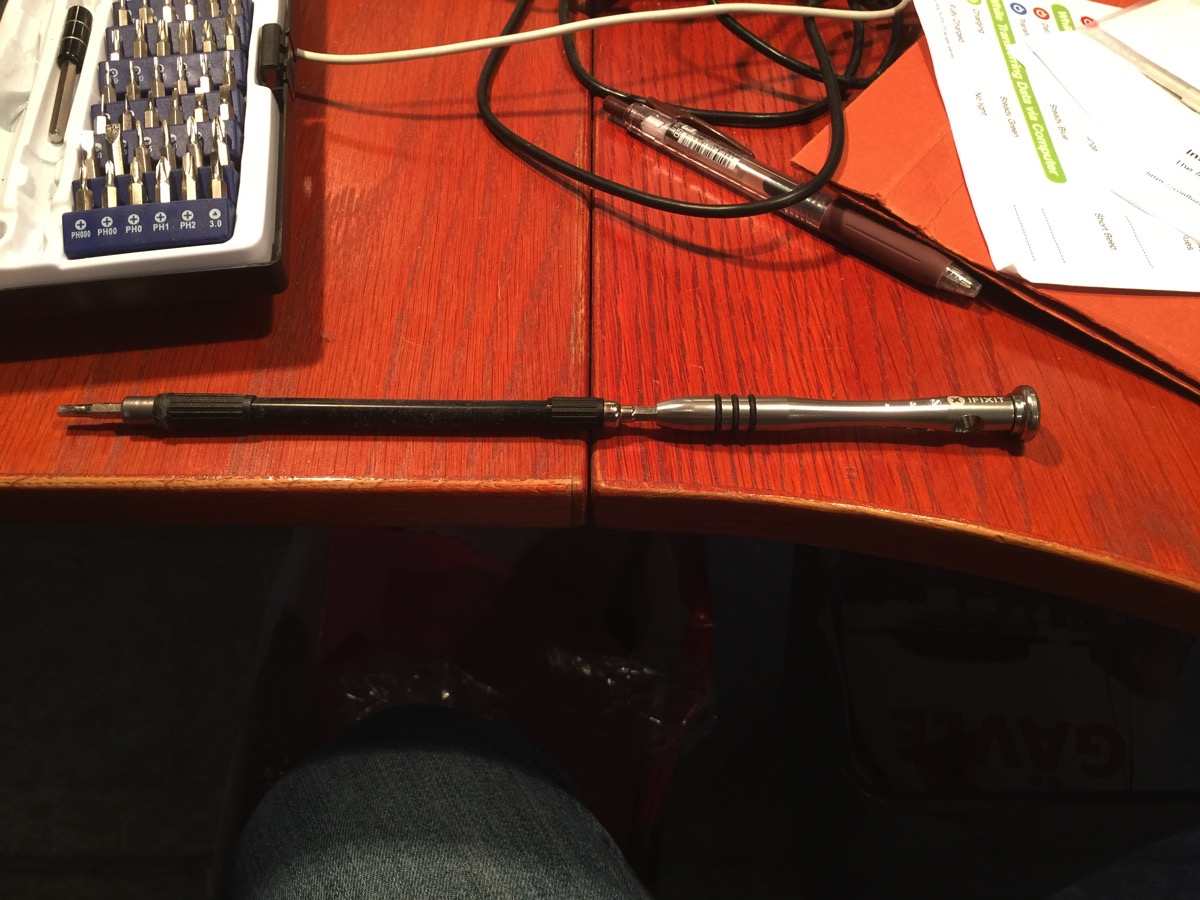
Extender screwdriver with 3 mm hex bit.

The north bridge sink:

North bridge heat sink

One of the CPU sinks:

Lower CPU sink (B)

Time to disconnect the antennas. Do snap a pic first so you can look up which cable went exactly where. They’re nicely labeled, but there are no markings on the boards to correspond with the cable labels. Also, the antenna cable labeled “2” is over to the side somewhere and is not connected to anything. 

Airport and bluetooth boards

Now you have to take out the speaker assembly in the lower front of the case. There’s a screw holding the motherboard in place that you can’t get at otherwise. 

Speaker assembly

After disconnecting a truckload of connectors and carefully wiggling for a bit, out comes the old motherboard.

Old motherboard

A good use for old iTunes cards: scraping thermal paste from the CPUs and the Northbridge. (The north bridge isn’t necessary, since this one is on its way out, but its a good trial run for the processors.)
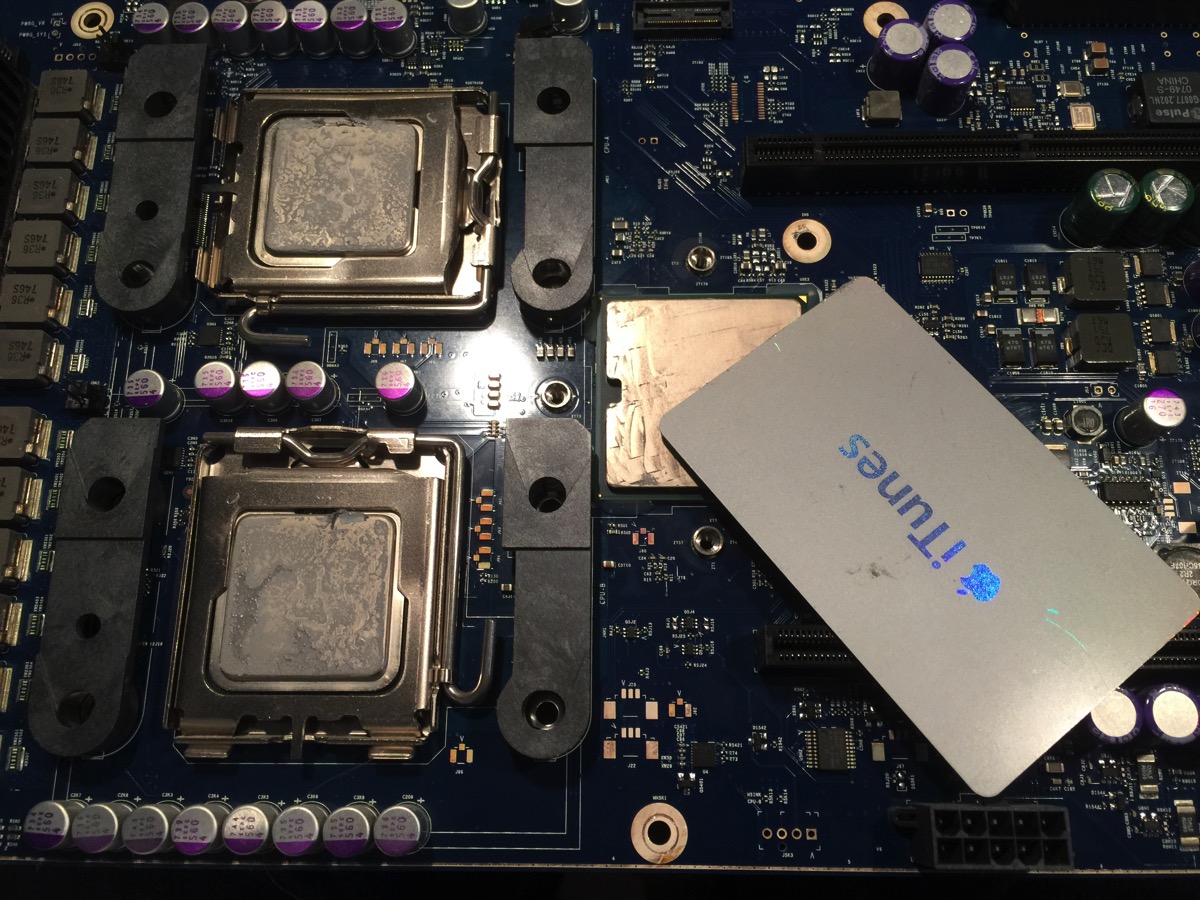
Scraping paste

Use a decent cleaner and lint-free cloth to remove the rest of the old thermal paste after scraping it off with the plastic card.
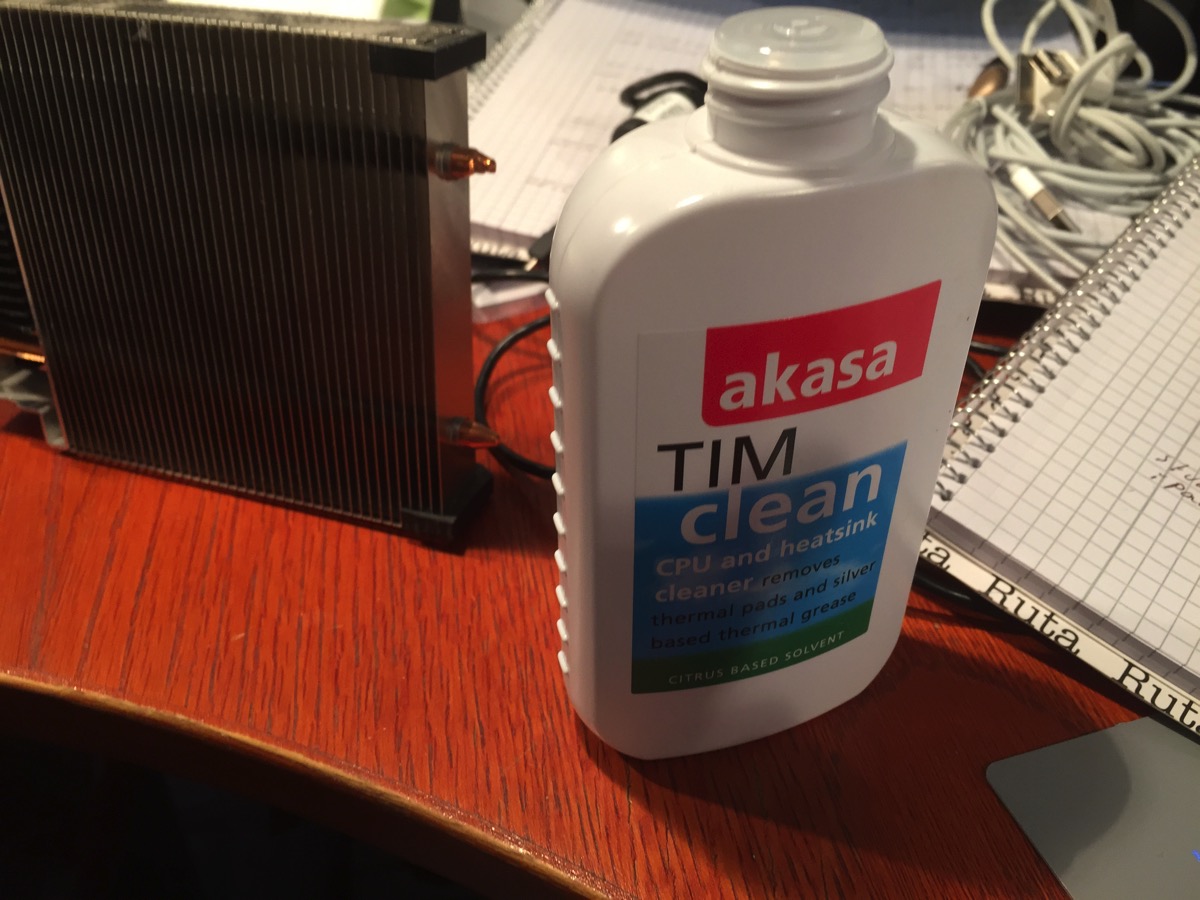
Dissolvant

One of the sinks after cleaning. Looks great!
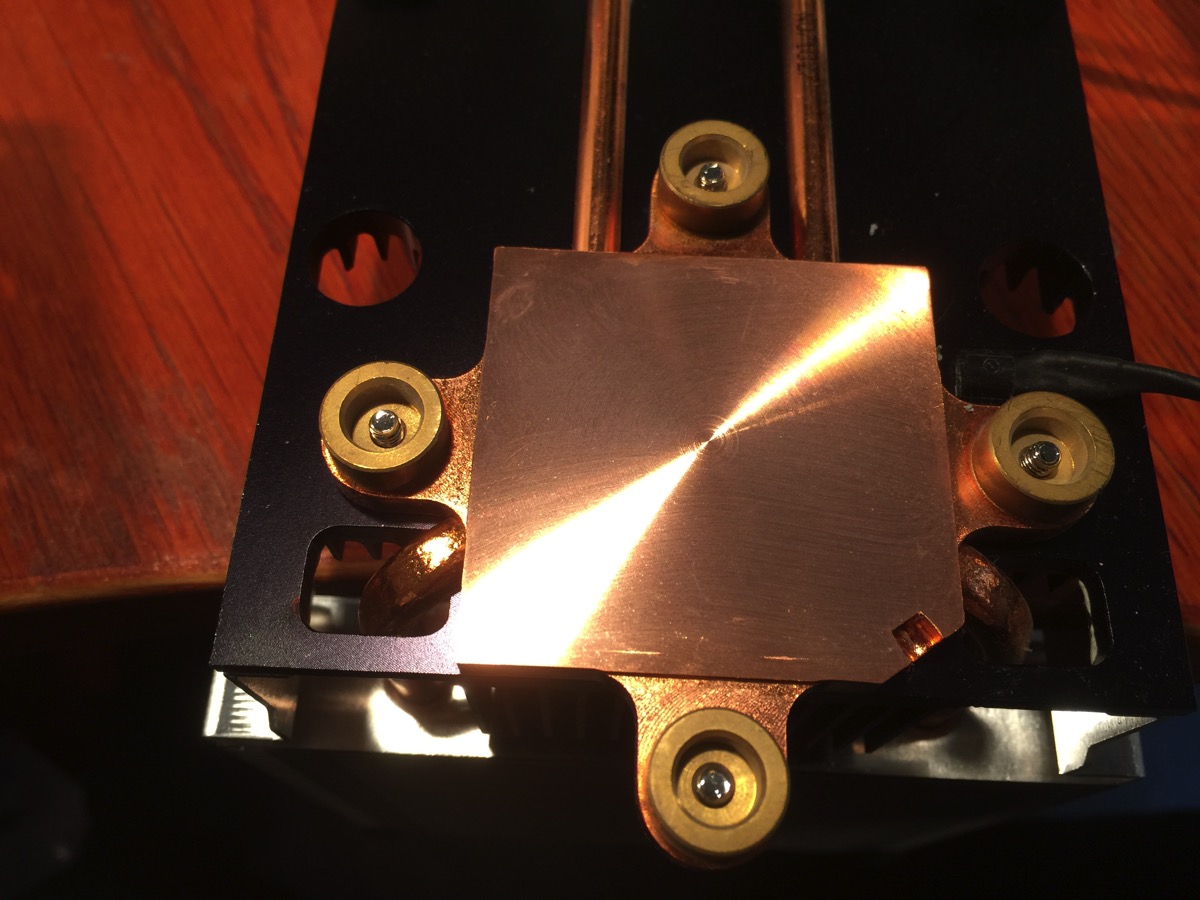
Clean sink

The processors look fine, too, after cleaning:

Clean processors

Time to strap up before removing the processors:

Antistatic strap

An empty case with a lot of loose cables:
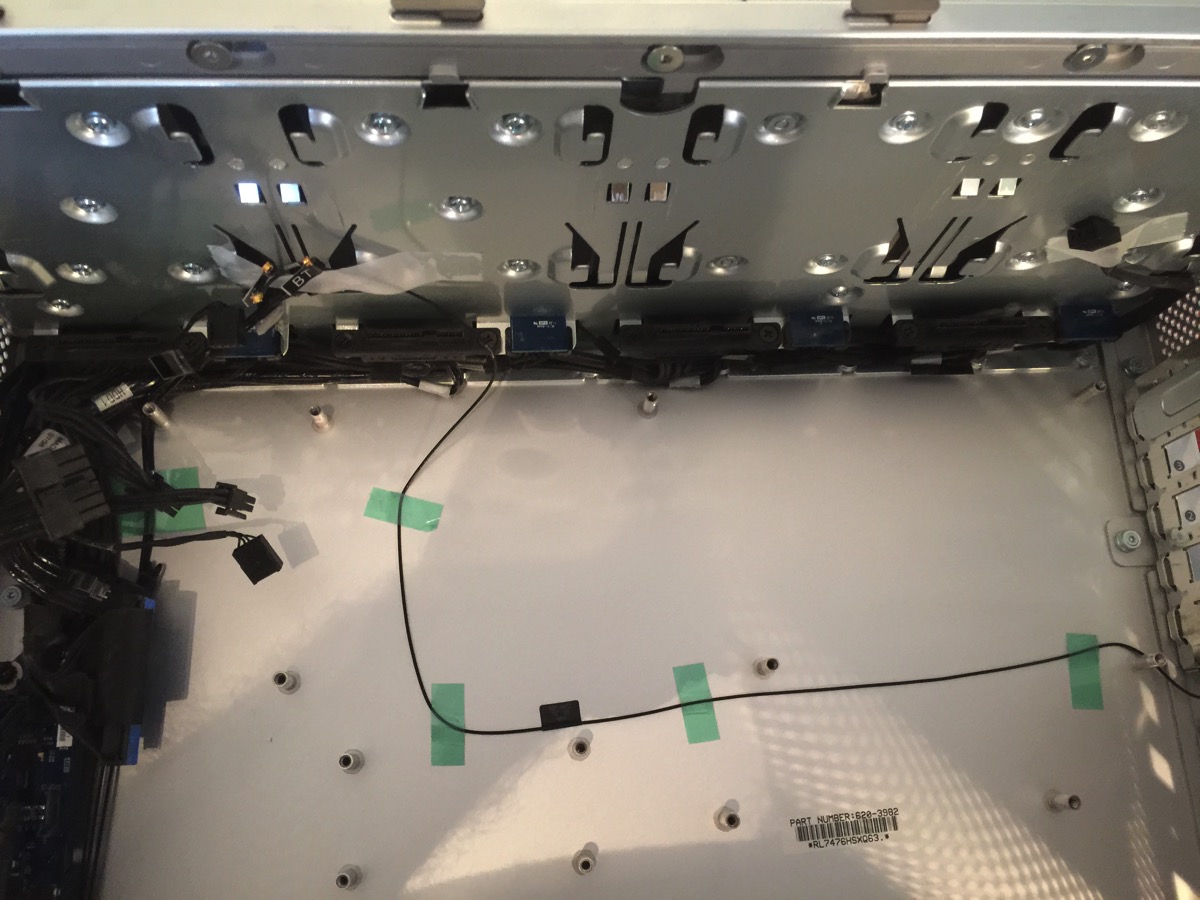
Empty case

Putting thermal paste on the north bridge and the CPUs. I’m using the procedure recommended on the Arctic Silver site. Except I unintentionally modified it to be messier. With this procedure, very little paste goes on the sinks.

Past on chips

And then you put back the motherboard, the sinks and all the rest. And cross your fingers and boot. Oh, your machine now has a new serial number, but really, who cares?

I used the opportunity to blow away all the dust from all the parts using compressed and dried air. This machine has never been this clean before. 

Apple upgrades really don’t work

So the other day I tried upgrading my main work machine from Mavericks to Yosemite. Since we’re now at 10.10.1 I thought it might work. Not really. It took hours to install, hanging on the “4 minutes left” mark, but got through, finally. Then Mail wouldn’t work, freezing at the “updating mail database” (or something to that effect). Tried it multiple times.

This time I’d been smarter, having done the upgrade on a SuperDuper “sandbox” drive, so all I needed to do to revert was to reboot from the internal drive. Lucky for me that the “update” of the mail database hadn’t destroyed it. Worked fine on 10.9.5.

So I guess I’ll wait for 10.10.2 and try again then. Not that I think it will work.

Another near-death Apple upgrade experience

So I decided to upgrade my Macbook Air 11, late 2013 to Yosemite. After all, I’ve been holding off for a couple of weeks to make sure no major problems would surface and be reported on the net. Since everything seemed clear, I did it. Or, rather, I tried it.

First, I updated Audio Hijack Pro to eliminate a known problem with that. All other updates were done. I made a full image using SuperDuper (am I glad I did…). Then clicked the upgrade button in the AppStore. 

An hour for the download, fifteen minutes for the upgrade, which gets stuck at the “4 minutes remaining” mark for two hours, and then I do a hard reset. Boots, but crashes at login, back to login, becomes entirely unresponsive. No mouse movement, no nothing.

Now I’m in the process of restoring from the SuperDuper backup, which booted fine, albeit very slowly (running on an external USB disk, that’s to be expected). Let’s hope this works. It usually does, but you never know.

Really, Apple, what’s up with the quality control…?

Horrible Apple update quality

There are two updates waiting to be done on a Mac Mini Mavericks server here. Both cause problems.

Security update 2014-005 1.0

This one causes the App Store app to become corrupt. There’s no way to do more updates once this happens. Also, there’s no way I know of to download it and reinstall it. If this isn’t a FUBAR, I don’t know what is. Yes, I restored an image and tried again, same thing. The restore didn’t recover the app, though. Don’t know why. Had to take it from another Mavericks machine and copy it over (you have to use sudo to get past OSX’s reluctance to replace that app). Now I’m wondering if applying the update, then replacing the App Store app would work, but I’m sick and tired of this nonsense, so it will have to wait until I gather enough energy to try yet again.

OSX Server 3.2.2

This is the second update in the queue right now. According to the description, it brings all kinds of improvements, but in actuality, the only thing that it clearly brings is a total failure of the wiki system. There’s no connection to the database. Had to restore from backups every time I tried this update.

This is not good. Let’s just hope that some later update is better.

One more thing…

It would be good if I could tell software update I don’t want these two updates, but I don’t see how. So the machine continuously keeps bugging me about restarting to do them. Very, very aggravating.

Which new Mac Pro? The old one.

So with the new Mac Pro coming out, I’ve been torn between getting one of those or live with my old Mac Pro early 2008 for a while longer. Now, just estimating the price of the new Mac Pro, adding in a Thunderbolt drive storage and two Thunderbolt screens, the sum is way beyond what I can credibly argue myself into. And I’d be stuck with something that has much more processing power than I could invent excuses for, while still being a first generation product.

After a lot of arguing with myself back and forth, I decided to try to speed up my old Mac Pro with SSDs. I also have a bootcamp Win7 I would like to preserve if possible, which seems to preclude using regular SSDs, unless I use a lot of them. The solution seems to be a Fusion Drive (combined SSD and hard disk), where the bootcamp partition ends up on the hard disk proper.

The SSD I bought is an OWC Accelsior E2 480 GB PCIe card, and I combined it with one of my “old” Seagate Constellation ES.2 2 TB drives into a 2.1 TB Fusion Drive with a 300 GB Windows partition. I can access the Win7 through Parallels as a virtual machine, but without any speedup from the SSD (since Win7 is in its own partition), but right now I can’t boot from it. I moved it using Winclone, so I’m waiting on a response from them on how to proceed. Worst case, I can skip bootcamp, I don’t really need it.

But for all the other virtual machines through Parallels, and all the other software and files I have, the machine has become unbelievably snappy. The Fusion Drive has about 1 TB of applications and data on it, so the SSD part should be able to handle most daily tasks, once it balances out right. But already, I’m seeing some fantastic speedups.

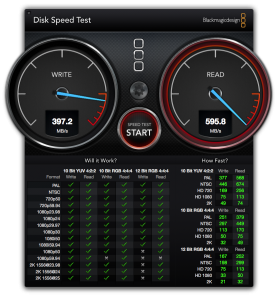
Just to make you envious, see the screenshot that follows. Theoretically, I should be getting 800 MB/sec, but I’m pretty happy with what I’m seeing. Can’t really see how much faster the machine can get in actual handling. Seems it boots apps and opens files as fast as the screen can be written. Almost.

BlackMagic Disk Speed Test on Mac Pro 2008

As a comparison, the test data from the “old” ES.2 2TB 7200 rpm drive that contains my old home folder, and which is still in one of the slots of the Mac Pro:

Disk Speed TestScreenSnapz002

In short, for a fraction of the money a new Mac Pro would cost, I got most of the benefit of one by adding this PCIe SSD card. (Nope, I have no relationship to OWC other than as a happy customer.)

The next step would be screens. I’ve got two 24″ Cinema displays, but with their 1920×1200 resolution, they’re getting cramped, especially when using the interface builder and storyboards in XCode. I’m still thinking it over, what to do about that. I already have an ATI Radeon 5870 card in the machine, so it should be able to handle bigger screens fine.

Mountain Lion for free?

I’ve downloaded and installed Mountain Lion (10.8) on several machines now, but I never paid for it. No, I didn’t pirate it, I got it from the App store, but it never gave me a chance to pay. Looking up the transaction in the App store via iTunes, I see this:

In other words, I did “buy” it, but got it for nothing. Officially. What I don’t get is why. I’m just guessing here, but since I’m a registered developer on the same account, and I’ve run the developer previews, that earns me a free release version as well. (Note that the 10.8 above is not a developer preview, but the released public version.)

Nice gesture, Apple. Unless it’s an error. If so, I really don’t mind paying for it; it’s not exactly expensive.

Invisible failure

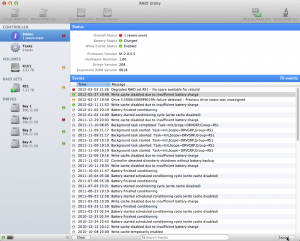
Today I noticed the RAID utility icon in the dock and I couldn’t remember having started it. Weird. Clicked on it and this is what I see:

(Click the image for full size.)

Oh, sh*t, a drive just died. “Just” died? No, not really, it died a week ago, and I didn’t notice. That’s not good. Normally, RAID Utility pops up at start to tell you something is going wrong, but what happens is that with Snow Leopard all apps restart in the state they were when closed down, so RAID Utility gets covered by all that other stuff. Any dire warnings are hidden, unless you look for them.

What RAID Utility should do is scream bloody murder, bounce the dock icon, send emails, create Growl popups, any and all of that, but it does none of them. Considering that running on a degraded RAID set is actually several times more risky than not running on RAID at all, the system really should take notifying the user more seriously.

A week… could just as well have been a month or until the next drive failed. Now let’s see if I get a new one from Seagate before another one goes titsup. Checking my backups as we speak…

A platform too many

With the new iBooks and iTunes U app, I’m missing a piece of the puzzle. Just as truckloads of schools have given the kids MacBooks, Apple rolls out the new textbooks to iPads only. Are we supposed to switch over the schoolkids to iPads now, and lose the OSX apps they use?

It would seem logical that iBooks and iTunes U would be available in versions for OSX as well, but there’s no sign of that. Or is Apple planning on running iOS apps on OSX in something like the iOS simulator? What’s going on here? As it stands now, it makes no sense.

Netbooting on OSX SL Server

Once I got tftp working on IPv4, I still couldn’t get the Macbook client to download the boot or image files. Wireshark showed that the client didn’t get any file when it sent “acknowledge data block 0”. Nothing. So I installed tftp-hpa from Macports, hoping that would solve my problem, which it didn’t. But a few tips on that:

Install tftp-hpa using the “server” variant like so:

sudo port install tftp-hpa +server

Then go into the preference file (which isn’t in the same place as most plist files):

sudo pico /Library/LaunchDaemons/org.macports.tftpd.plist

…and remove the “-s” command line parameter, while changing the path to “/private/tftpboot/”. The “-s” parameter forced a chroot which won’t allow tftp to follow symlinks outside the given path, making netbooting impossible.

Then, and this is the crucial step, change the block size to max 512 by adding the “-B” option with the value “512”. What seemed to be happening in my installation is that the client requested a block size of 8192, the server approved it, and things just stopped working. Probably something to do with the switches I have, but crimping it to 512 fixed the problem. Of course, if you’re doing netbooting on a regular basis, or run diskless workstations, 512 may be intolerably slow, so then it could be worth experimenting with higher values.

I ended up with a plist file for tftp-hpa looking like this:

<?xml version='1.0' encoding='UTF-8'?>
<!DOCTYPE plist PUBLIC "-//Apple Computer//DTD PLIST 1.0//EN"
"http://www.apple.com/DTDs/PropertyList-1.0.dtd" >
<plist version='1.0'>
<dict>
<key>Label</key><string>org.macports.tftpd</string>
<key>ProgramArguments</key>
<array>
        <string>/opt/local/bin/daemondo</string>
        <string>--label=tftpd</string>
        <string>--start-cmd</string>
        <string>/opt/local/sbin/tftpd</string>
        <string>-B</string>
        <string>512</string>
        <string>-L</string>
        <string>/private/tftpboot/</string>
        <string>;</string>
        <string>--pid=exec</string>
</array>
<key>Debug</key><false/>
<key>Disabled</key><true/>
<key>OnDemand</key><false/>
</dict>
</plist>

After modifying the file, stop and restart tftp-hpa by:

sudo launchctl unload /Library/LaunchDaemons/org.macports.tftpd.plist
sudo launchctl load -F /Library/LaunchDaemons/org.macports.tftpd.plist

It’s entirely possible I never needed to switch tftp servers from the default to tftp-hpa, but now I did, I don’t know if I’ve got the courage to switch back to try the original. Checking the man pages for the original tftpd server, I can find no setting for max block-size, so maybe tftp-hpa is necessary after all, just to be able to crimp the blocks enough.